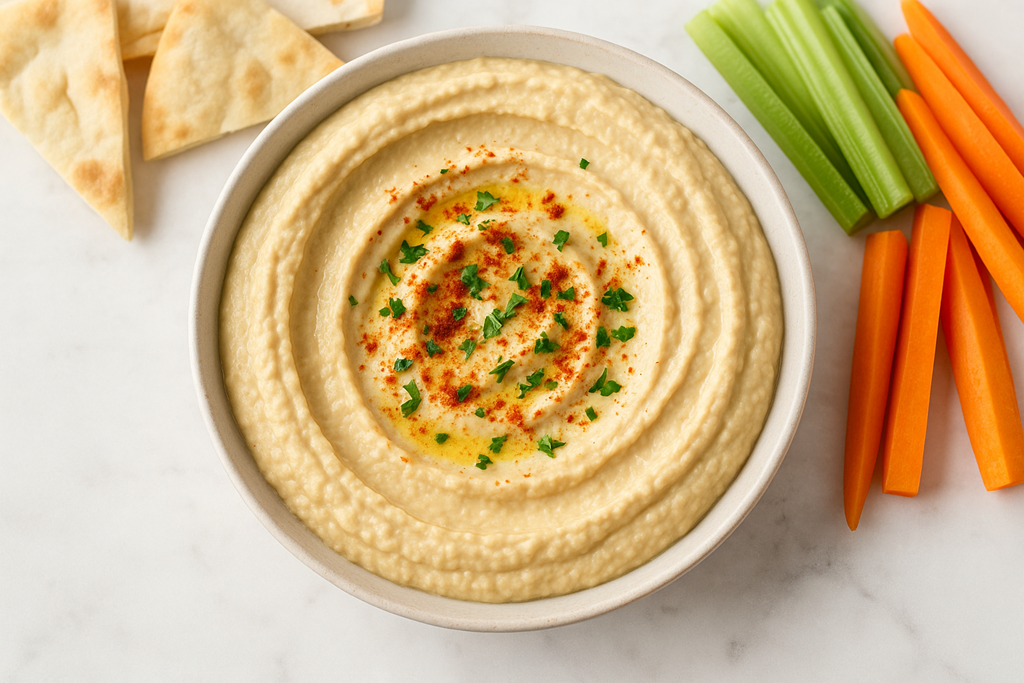
If you love smooth, restaurant-quality hummus but don’t want to rely on store-bought tubs, this Food Processor Hummus Recipe is about to become your go-to staple. Designed for anyone who enjoys quick, wholesome recipes, this version uses simple pantry ingredients and blends in minutes. With just a few smart techniques—like whipping the tahini first and drizzling in olive oil gradually—you’ll create an ultra-creamy dip that tastes gourmet with minimal effort. Whether you serve it as a snack, appetizer, or spread, this homemade hummus is fresher, lighter, and far more customizable than anything you’ll find on the shelf.
Prep & Cook Time
Prep Time: 10 mins
Cook Time: 0 mins
Total Time: 10 mins
Servings: 8
Yield: About 2 cups
Ingredients
- 1 (15-ounce) can chickpeas, drained and rinsed
- 3 tablespoons tahini
- 2 to 3 tablespoons fresh lemon juice
- 2 cloves garlic, roughly chopped
- 3 tablespoons olive oil, plus extra for serving
- 2–4 tablespoons cold water or ice cubes
- ½ teaspoon salt, or to taste
- ¼ teaspoon ground cumin (optional)
- Paprika or sumac, for garnish (optional)
Directions
- Whip the Tahini:
Add tahini and lemon juice to the food processor. Process for 30–45 seconds until pale and creamy. This step helps create a smoother, fluffier hummus. - Add the Flavor Base:
Add garlic, salt, and cumin (if using) to the whipped tahini. Process another 15–20 seconds to fully incorporate the seasonings. - Blend in the Chickpeas:
Add the chickpeas and process for 20–30 seconds. Scrape down the sides of the bowl and continue blending until the mixture begins to smooth out. - Incorporate the Olive Oil:
With the processor running, slowly drizzle in the olive oil. Continue processing until the hummus becomes silky and uniform. - Adjust Texture:
Add cold water (or ice cubes) 1 tablespoon at a time, processing between each addition, until the hummus reaches your desired creaminess. Cold water helps whip air into the mixture, resulting in a lighter texture. - Taste and Adjust Seasoning:
Add more lemon juice, salt, or cumin if needed. Blend again briefly to combine. - Serve:
Transfer hummus to a bowl. Drizzle with olive oil and sprinkle with paprika or sumac, if desired.
Tips & Best Practices
- For the ultimate creamy texture, peel chickpea skins by gently pinching them off. It’s optional but results in noticeably smoother hummus.
- Don’t skip whipping the tahini first—it’s a small step that makes a big difference in fluffiness.
- If your hummus tastes flat, add another splash of lemon juice or a pinch of salt.
- If storing, refrigerate in an airtight container for up to 5 days. Add a thin layer of olive oil on top to keep it extra fresh.
Nutrition Facts (per serving) — Estimated values
- Calories: 130
- Total Fat: 9g
- Saturated Fat: 1g
- Carbohydrates: 10g
- Fiber: 2g
- Protein: 3g
- Sodium: 180mg
- Sugar: 1g
(Nutrition values may vary based on brand and measurement variations.)
Pro-Tip:
For the smoothest, creamiest hummus, nothing beats a powerful food processor. While this recipe can be made with other tools, a quality processor creates that ultra-silky texture you expect from restaurant-style hummus—without extra effort. If you don’t already own one, or if yours could use an upgrade, investing in a reliable model will make homemade dips, sauces, nut butters, and dressings quicker and more enjoyable to prepare. Ready to explore top-rated options? Click the button below to check out Food Processors on Amazon and find the perfect fit for your kitchen.
Conclusion
This Food Processor Hummus Recipe proves that delicious, wholesome snacks can be incredibly simple to make at home. With just a handful of ingredients and a few minutes of blending, you’ll have a creamy, flavorful dip that’s perfect for vegetables, pita chips, sandwiches, or meal prep. Whether you’re new to homemade hummus or already a fan, this recipe is designed to be flexible, customizable, and foolproof—an excellent addition to your everyday cooking routine. Enjoy every smooth, satisfying bite!