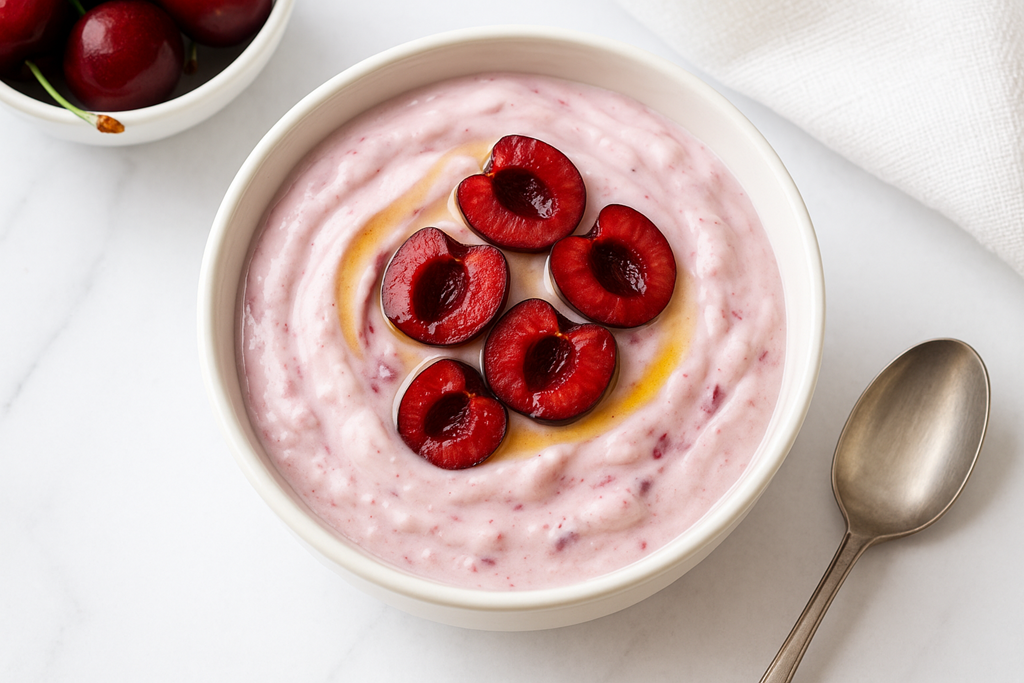
If you're craving a sweet, fruity, and refreshingly tangy yogurt that tastes like dessert but still fits into a wholesome lifestyle, this homemade Cherry Yogurt is a must-try. Using a yogurt maker ensures consistent results, creamy texture, and a hands-off fermentation process that even beginners can master. Plump cherries add natural sweetness and vibrant color, making this recipe perfect for breakfast bowls, snacks, or healthy desserts. Whether you prefer fresh or frozen cherries, this easy recipe transforms simple ingredients into a flavorful, protein-packed treat you’ll want to keep stocked in your fridge.
Prep & Cook Time
Prep Time: 10 mins
Cook Time: 8–10 hrs (yogurt maker incubation)
Total Time: 8 hrs 10 mins
Servings: 4
Yield: 4 cups yogurt
Ingredients
- 4 cups whole milk (or 2% milk; whole provides creamier yogurt)
- 2 tablespoons plain yogurt with live active cultures (starter)
- 1 cup cherries, pitted and halved (fresh or frozen)
- 2 tablespoons honey or sugar (optional, to taste)
- 1 teaspoon vanilla extract (optional)
- 1–2 tablespoons cherry jam (optional, for richer cherry flavor)
Directions
- Heat the Milk:
Pour milk into a saucepan and gently heat to 180°F (82°C), stirring occasionally. Heating helps the yogurt set with a smooth, thick texture. - Cool the Milk:
Remove from heat and allow the milk to cool to 110°F (43°C). This temperature is crucial—too hot will kill the cultures, too cool may affect fermentation. - Prepare the Cherries:
While the milk cools, chop cherries. You can leave them fresh, lightly mash them for more flavor distribution, or simmer them for 5 minutes to create a soft, jammy texture. - Mix in the Starter:
In a small bowl, whisk the plain yogurt starter with ½ cup of the cooled milk until smooth. Then stir this mixture back into the full pot of milk. - Add Flavor:
Stir in the cherries, honey or sugar (if using), and vanilla extract. For a deeper cherry flavor, add a spoonful of cherry jam. - Incubate in Yogurt Maker:
Pour the mixture into your yogurt maker. Cover and incubate for 8–10 hours until the yogurt reaches your desired tang and thickness. Longer fermentation results in tangier yogurt. - Chill and Set:
After incubation, refrigerate the yogurt for at least 4 hours. This step helps it firm up and improves the overall texture. - Serve:
Spoon into bowls and top with extra cherries, granola, almonds, or a drizzle of honey for a beautiful cherry yogurt bowl.
Tip: If you prefer smooth yogurt without fruit chunks, strain the yogurt through cheesecloth after chilling, then stir in blended cherries or cherry puree.
Nutrition Facts (per serving) — Estimated values
- Calories: 165
- Protein: 9g
- Carbohydrates: 22g
- Fat: 5g
- Sugars: 20g
- Fiber: 1g
- Calcium: 22% DV
Pro-Tip:
If you’ve never made yogurt at home—or you’re still using an older machine—this Cherry Yogurt Recipe is the perfect reason to upgrade your yogurt-making setup. A modern yogurt maker keeps temperatures consistent, shortens prep time, and delivers thick, creamy, reliable results every single batch. The right machine can truly elevate your homemade yogurt experience, especially when working with delicate fruit add-ins like cherries. If you're ready to improve your texture, flavor, and convenience, go ahead and explore some of the top-rated yogurt makers available online. Click the button below to check out Yogurt Makers on Amazon and find the perfect one for your kitchen.
Conclusion
Homemade Cherry Yogurt is one of the most rewarding recipes you can make with a yogurt maker—simple, wholesome, and packed with the bright flavor of cherries. With just a few ingredients and minimal hands-on time, you’ll create a delicious yogurt that’s fresher and more customizable than anything store-bought. Enjoy it as a breakfast staple, a midday snack, or a naturally sweet dessert. Once you taste how easy and flavorful homemade yogurt can be, this Cherry Yogurt Recipe may become a weekly favorite in your kitchen.