If you’ve ever wondered how to make perfectly sticky, glossy, restaurant-quality sushi rice at home, this rice cooker recipe is the easiest and most reliable method. Sushi rice can be tricky on the stovetop, but a rice cooker takes out the guesswork, ensuring every grain cooks evenly. Whether you're preparing sushi rolls, poke bowls, or simply love that signature Japanese-style seasoned rice, this foolproof recipe will help you achieve consistently delicious results.
This is a great recipe for beginners and experienced home cooks alike, offering step-by-step instructions, helpful notes, and tips to guarantee your sushi rice turns out just right—slightly sticky, mildly seasoned, and beautifully balanced.
Prep & Cook Time
- Prep Time: 10 mins
- Cook Time: 30 mins
- Additional Time: 20 mins (soaking + cooling)
- Total Time: 1 hr
- Servings: 6
- Yield: About 4 cups cooked sushi rice
Ingredients
- 2 cups short-grain Japanese sushi rice
- 2 cups water (or use rice cooker’s “2-cup” line)
- 3 tablespoons rice vinegar
- 1 ½ tablespoons sugar
- 1 teaspoon salt
- 1 small piece kombu (optional, for added umami)
Tip: Always use short-grain Japanese rice. Long-grain rice will not achieve the proper sticky texture for sushi.
Directions
Step 1: Rinse the Rice
Place the rice in a fine-mesh strainer or bowl. Rinse thoroughly, swirling by hand, until the water runs mostly clear. This step removes excess starch, preventing mushy rice.
Step 2: Soak the Rice
Transfer rinsed rice to the rice cooker bowl. Add water and let the rice soak for 20–30 minutes. Soaking helps the grains absorb moisture and cook evenly.
Step 3: Cook the Rice
Add the kombu sheet (if using) on top of the rice. Close the lid and cook using the rice cooker’s White Rice setting. When finished, remove the kombu and fluff gently.
Step 4: Prepare Sushi Vinegar
In a small saucepan, warm the rice vinegar, sugar, and salt over low heat until dissolved. Do not boil.
(You may also microwave the mixture for 20–30 seconds.)
Step 5: Season the Rice
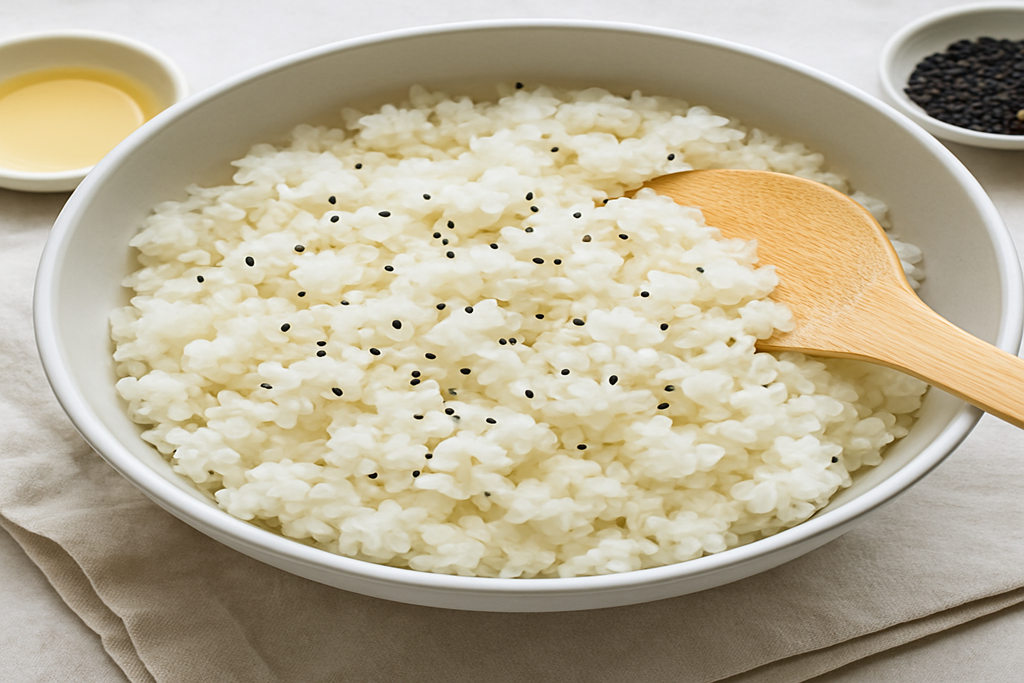
Transfer the hot rice to a large bowl or wooden hangiri. Pour the sushi vinegar evenly over the top. Using a rice paddle, gently fold the rice—avoid smashing—while fanning to help it cool and achieve a glossy finish.
Step 6: Rest and Use
Let the seasoned rice cool to room temperature before using in sushi rolls, bowls, or nigiri.
Best Practice: Never refrigerate freshly made sushi rice, as it becomes hard and dry. Use immediately for best texture.
Nutrition Facts (per serving) — Estimated values
- Calories: 180
- Carbohydrates: 40g
- Protein: 3g
- Fat: 0g
- Sodium: 190mg
- Sugar: 2g
- Fiber: 1g
(Nutrition will vary depending on rice brand and seasoning levels.)
Pro-Tip:
For the most consistent, foolproof sushi rice, using a quality rice cooker makes all the difference. Modern rice cookers are designed to monitor temperature and moisture automatically, ensuring each grain cooks evenly—something that’s hard to achieve on the stovetop. If you don’t own one yet, or if your current model is due for an upgrade, investing in a reliable rice cooker will elevate not only your sushi rice but every rice-based dish you make. It’s a simple kitchen upgrade that delivers perfectly cooked rice every single time. Click the button below to explore top-rated rice cookers on Amazon and find one that fits your kitchen.
Conclusion
Making authentic sushi rice at home doesn’t have to be complicated—your rice cooker does most of the work for you. With the right rice, proper rinsing, and a balanced seasoning blend, you’ll have perfectly sticky, flavorful sushi rice ready for rolls, bowls, and all your Japanese-inspired meals. This recipe is a dependable staple you’ll come back to every time you need a flawless batch of sushi rice.
If you're exploring sushi-making for the first time or refining your home-cooking skills, this recipe delivers consistent, delicious results. Enjoy your homemade sushi rice and all the tasty creations that follow!